Spritify
A downloadable tool for Windows and Linux
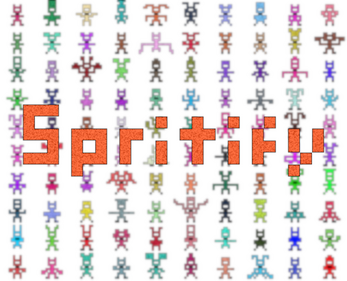
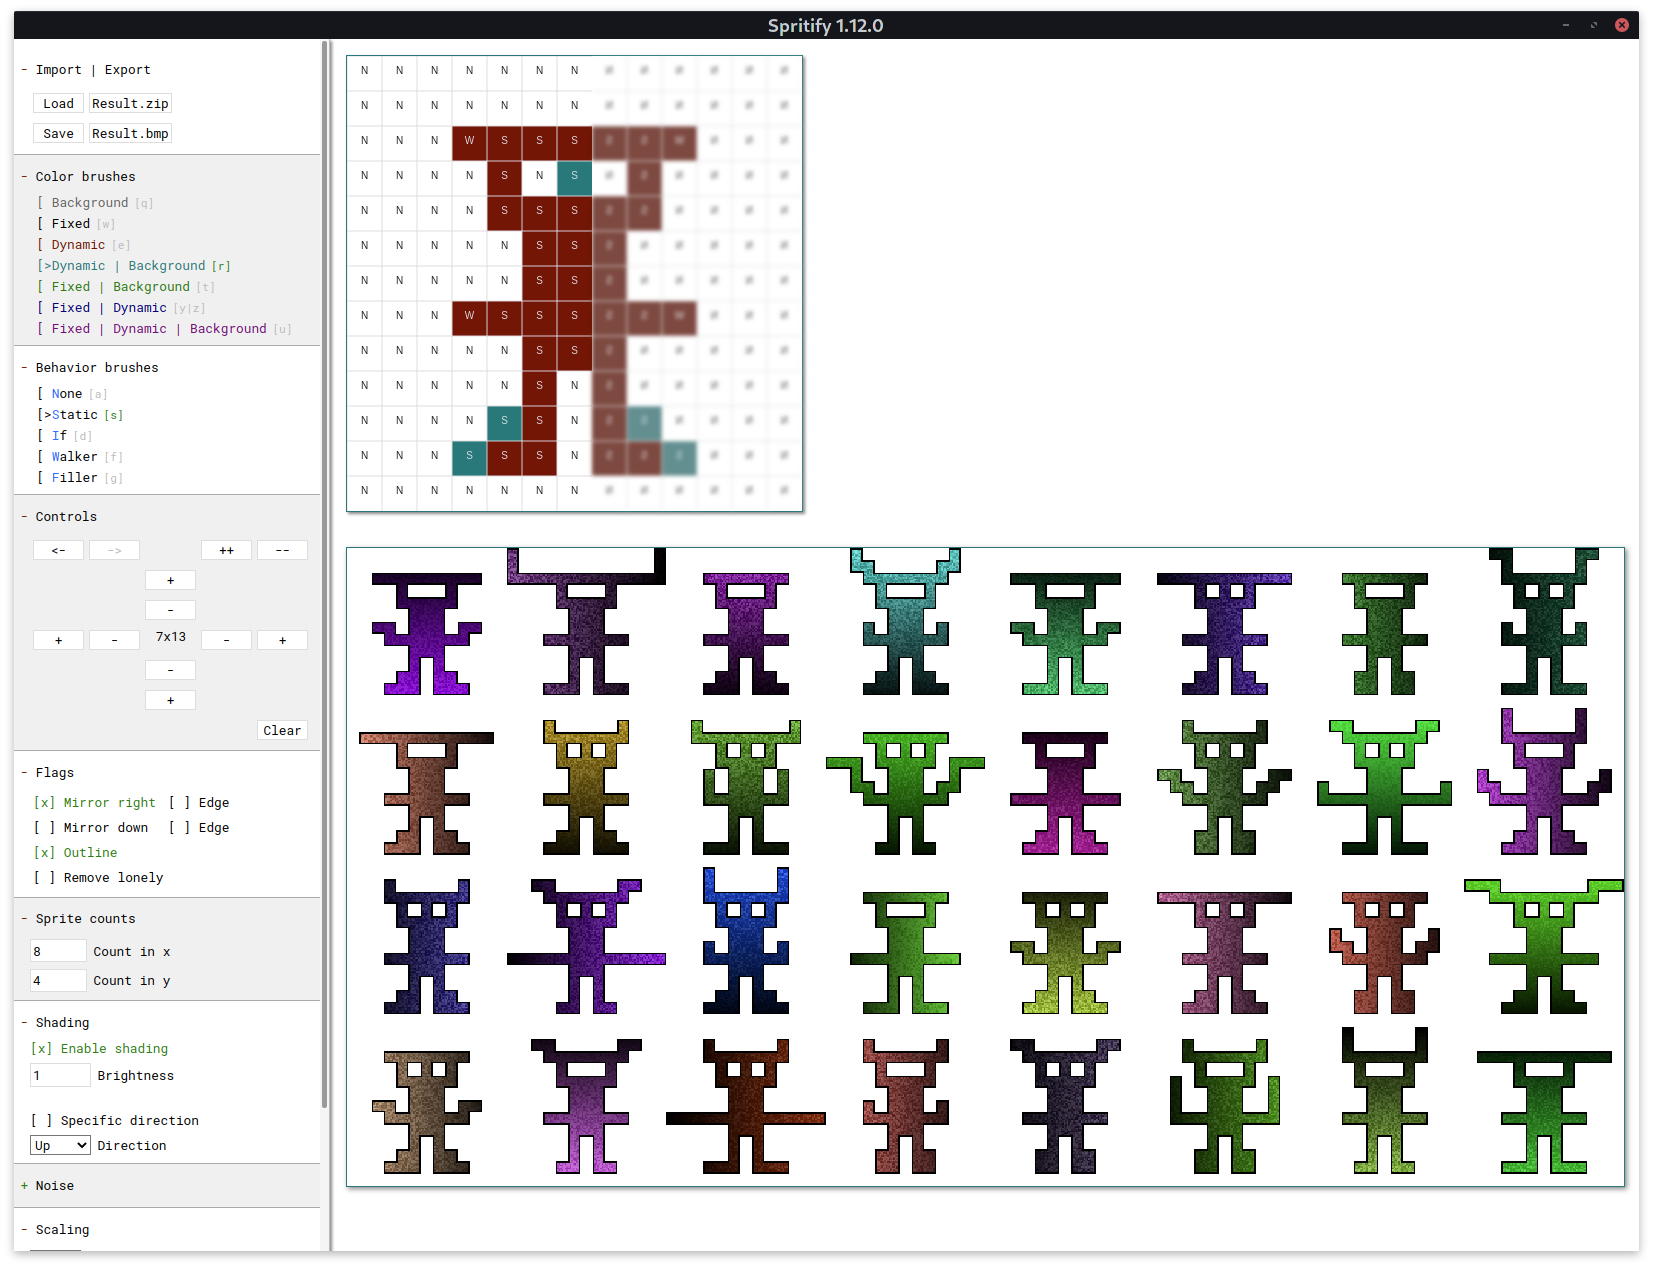
Spritify is a tool for the fast and easy generation of 2D sprites. It transforms simple input images consisting of smart pixels into many distinct output images with varying properties, such as gradient, noise and color which can then be exported and used in your projects.
Example
Demo version
There's a demo version of Spritify that you can get for free to evaluate it. In the demo some of the import and export functions are disabled. Also many of the sizes and factors are greatly limited (Palette, Canvas, Sprite counts, Scaling factors, ...). All other features are available.
Guide
Quick overview
Hotkeys
Note that several functions can also be performed via hotkeys. Hover your cursor over functions to see if there's a hotkey mapped to it.
Canvas
On the canvas you can draw your input image which is then used to generate your sprites.
The canvas displays both the color and behavior of individual pixels.
The color is displayed as a pixel's color, the behavior as a character (More under Brushes).
You can left click to draw single pixels, drag while holding the left mouse button to draw a path or right click to flood fill.
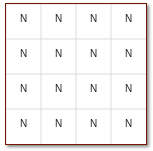
By default the canvas is filled with the Background color and None behavior
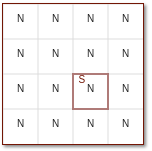
When hovering with your cursor, the currently active brush will be displayed

The canvas after drawing several pixels
The Preview
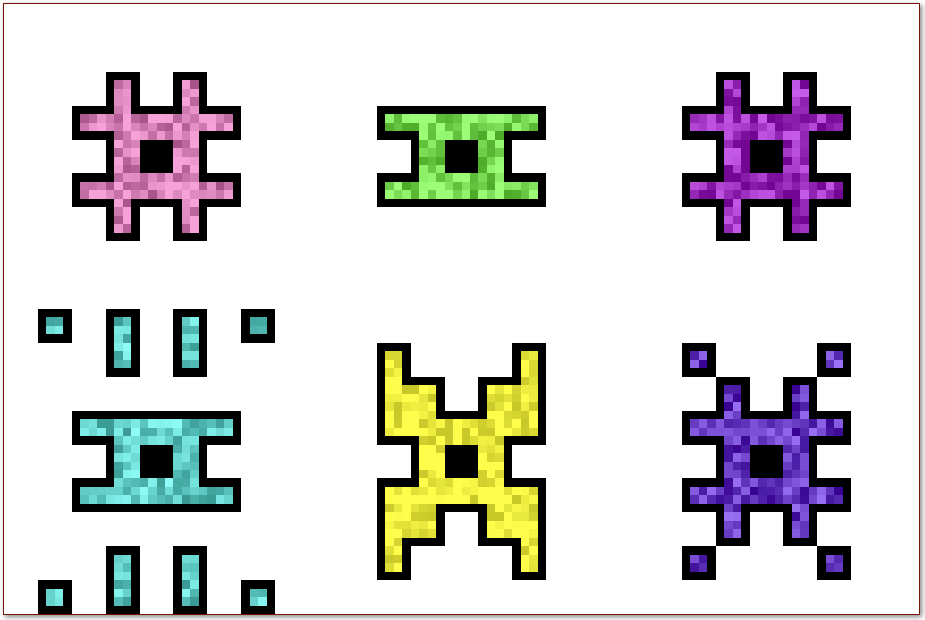
Below the canvas there's a preview of the sprite. It will display the same result you'd receive by performing an export. Please note that the preview's pixels are scaled to always use all available space, your exported result will likely have smaller pixels.
Sidebar
The sidebar contains all of Spritify's settings and controls. The sidebar is split in groups which can be expanded and collapsed by clicking a group's header.
Import | Export
Here you can save and load projects and export your sprites.

- Load Import a previously saved Spritify project
You can also import projects by opening the files with Spritify or using drag&drop
- Save Save your current project
- Result.zip Export your sprite as
.ziparchive containing the individual .bmp images - Result.bmp Export your sprite as a single
.bmpimage (What you see in the preview)
Brushes
Your current brush and pixels on the canvas consist of a color and behavior.
The different brushes are described below.
Color brushes
The color brushes set the color a pixel will have.
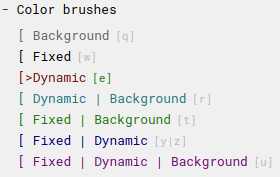
The currently active brush is highlighted with [>
You'll notice that each name here has its distinct color. These colors are also placed on the canvas when drawing with that brush.
- Background Drawing pixels with the background color (similar to erasing pixels)
You can set the background color in the
Colorscontrols - Fixed Drawing pixels with the fixed color
Pixels using this color will always have the same color. You can define which color to use in
Colors - Dynamic Drawing pixels with the dynamic color
Pixels using this color will vary in color. They might each end up with a different color, noise and shading in your final sprite.
Many settings affect how these pixels behave, see more under
Flags,Shading,NoiseandPalette - Dynamic | Background Pixels will randomly either become a
DynamicorBackgroundpixel with a 50/50 chance - Fixed | Background Pixels will randomly either become a
FixedorBackgroundpixel with a 50/50 chance - Fixed | Dynamic Pixels will randomly either become a
FixedorDynamicpixel with a 50/50 chance - Fixed | Dynamic | Background Pixels will randomly either become a
Fixed,DynamicorBackgroundpixel with a 33/33/33 chance
Behavior brushes
The behavior brushes define the behavior of a pixel during the generation process.
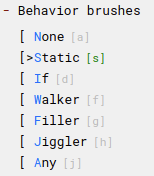
The currently active brush is highlighted with [>
You'll notice that the first character of each brush is highlighted. That's the character that is being placed onto the canvas if you use this brush.
- None This is basically the 'background' or 'off' of the behaviors. Pixels of this type are considered to not exist at all during the simulation
- Static This is basically the 'on' of the behaviors. Pixels of this type are always active and considered to be present during the simulation
- If Pixels of this type are considered to be
Staticif they have a neighbor, otherwise they are considered to theNone. With these pixels you can define areas that all turn on or off together - Walker These pixels will leave a trail on the canvas by following a random path. They'll stop randomly or if they hit something.
They behave similar to the
Snakegame - Filler Pixels of this type will fill their surrounding area to a random degree. They are similar to the
Walkerpixels but instead of creating a trail, they create more radial shapes like drops of ink - Jiggler Jigglers will move randomly to a neighbor position or remain where they are
- Any Chooses any of the other behaviors randomly
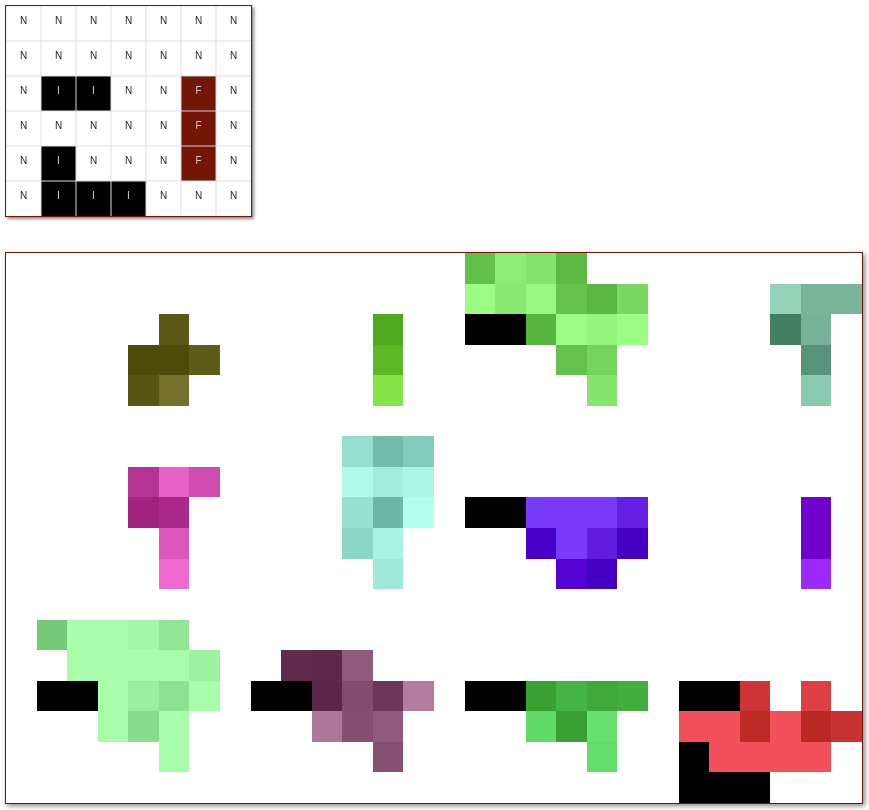
In this example you can see two groups of If pixels and a group of Filler pixels.
In the result you'll notice that the If groups are either present entirely or not at all. Whenever one of the Filler pixels 'reached' one of the groups, the entire group got activated. (One of the If pixels activates due to having a neighbor, which then can activate another If pixel until the entire group is active)
Controls
Here you can find various functions to edit the canvas.
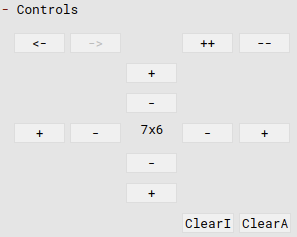
- <- Undo the last canvas action (drawing, resizing)
- -> Redo the last canvas action (drawing, resizing)
- ++ Zoom in, displaying the canvas with larger pixels
- -- Zoom out, displaying the canvas with smaller pixels
- + Increase the size of the canvas by adding a row or column depending on the location of the button
- - Decrease the size of the canvas by removing a row or column depending on the location of the button
- 7x6 The current size is displayed at the center
- ClearI Clear the canvas resetting all invisible pixels (outside of current drawing area)
- ClearA Clear the canvas resetting all pixels
Flags
In this group you can find multiple flags to control the sprite generation.

- Mirror right Mirror all pixels drawn onto the canvas to the right
- Mirror down Mirror all pixels drawn onto the canvas downwards
- Edge If the right or bottom edge should also be mirrored
- Outline Outline the final result with
Fixedpixels - Remove lonely Remove pixels without any neighbours
Mirroring
Below some examples explaining the mirroring flags:
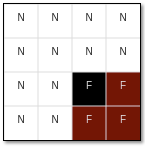
All mirroring is disabled and there's 4 pixels drawn to the bottom right of the canvas

Mirroring to the right is enabled, the edge is not mirrored. In addition to the 4 pixels we now see two of them being mirrored

Now both mirroring to the right and edge mirroring is enabled. There's now 8 pixels visible since all 4 input pixels were mirrored
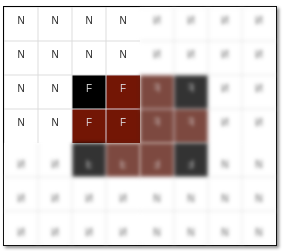
Additionally downwards mirroring is now enabled (no edge)
Outline
When this is active the Fixed color is used to outline the generated images.
This usually only makes sense when also setting the Scaling to > 1, since otherwise most pixels will be overwritten.

Here the Outline setting is disabled

Here the Outline setting is enabled
Remove lonely

Removal of lonely pixels disabled, there's pixels without any neighbours in the output

Removal of lonely pixels enabled, there's no pixels without any neighbours in the output
Sprite counts
Here you can set the number of images your sprite will have.

- Count in x Number of images per row
- Count in y Number of image rows
Shading
In this group you can configure the shading.
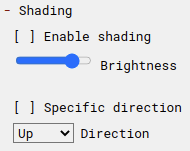
- Enable shading Here you can toggle the shading
- Brightness Sets the brightness of the shading
- Specific direction Enable this if you want to set a specific shading direction for all your sprite images. Otherwise a random direction is chosen per image
- Direction Sets the shading direction if
Specific directionis enabled Below some example shading configurations:

Here shading is disabled. There's no brightness gradient within the images

Shading is enabled, the brightness is set to high

In this image shading is enabled, the brightness set to low

Here the shading direction is set to down
Noise

- Strength Sets the strength of the noise (how noisy the sprite will be)

A low noise value

A high value is set for the noise
Scaling
You can scale your output image, creating several output pixels per input pixel. Be careful when combining this with high sprite counts since the sprite generation can then use a lot of memory and time. Also avoid setting high values for both scaling factors, since their multiplication affects the performance (both set to 10 -> ~100x worse)

- Factor before This factor is applied before the simulation having an impact on it (more pixels with different values) This has a huge impact on the performance
- Factor after This factor is applied at the end, only affecting the size of the output (pixels duplicated with their values) This has less impact on the performance, but still must be used with caution

A scaling (before) factor of one. Every input pixel creates an output pixel

A scaling (before) factor of two. Every input pixel creates 2x2 (4) output pixels

Scaled with a factor (before) of 16. Creating 16x16 (256) output pixels per input pixel
Colors

- Fixed The color of
Fixedpixels - Background The color of the background

The default color configuration of black Fixed pixels and a white background

Using different colors
Palette
Here you can choose an image that will be used as source for Dynamic pixel colors.
If you don't choose an image, random colors are used. Otherwise your image's pixels are used as input.

- Reset Unset the image and use random colors instead
- Load Load an image as color source

An image of a fire being used as palette

An image of the sky used as palette
Seed
Here you can define a seed used for the random generation. Changing this seed has a huge impact on the generated outcome.

- Edit Text You can use the text field to set a specific seed
- Roll Click to use a randomly chosen seed

Result with a specific seed

Using another seed but the same configuration and input yielding a different result
| Status | In development |
| Category | Tool |
| Platforms | Windows, Linux |
| Author | Martin Buck Software |
Purchase
In order to download this tool you must purchase it at or above the minimum price of $9.99 USD. You will get access to the following files:
Download demo
Development log
- 1.13.0Apr 11, 2021
- 1.12.1Mar 31, 2021
- Initial release on itch.ioMar 27, 2021
